1. Applications:
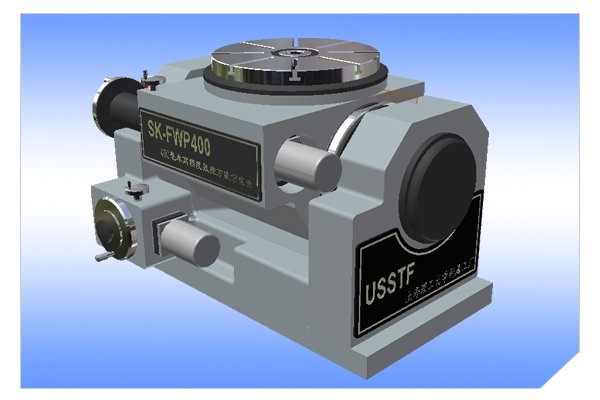
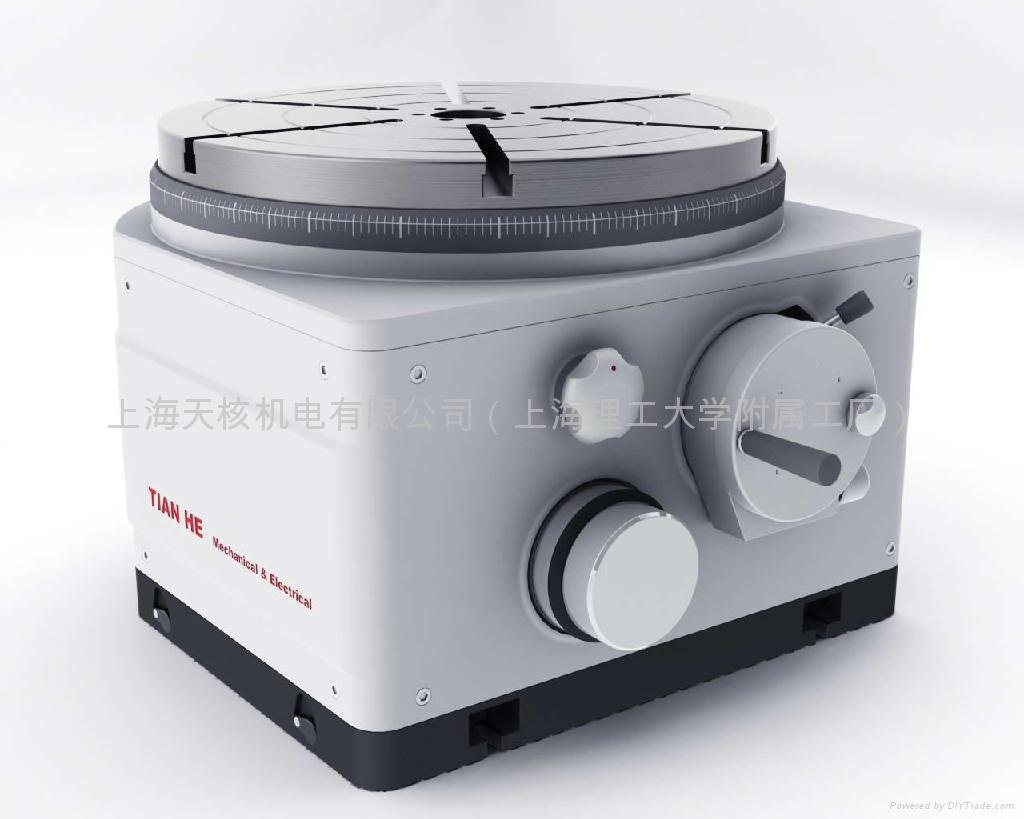
This equipment is a high precision angle-measuring apparatus, designed to inspect parts with distributions such as gears, dividing plates, cams and ployhedra. It also serves as an accessory of large high-accuracy boring-machines for fine machining.
It has two high-precision rotating shafts, revolving and tilting, therefore particularly suitable for the measuring or machining of the dual-angle oblique holes of certain complicated parts (e.g. box-shaped or ring-shaped ones) and those with dual-angle canted angular positions in both aviation industry and precision machinery.
Having the revolving and tilting respectively controlled by two sets of raster signaling devices through CMOS circuits, this apparatus is also applicable to the testing of gyroscopes and special motors in aerospace industries.
2. Main Technical Data:
Worktable face diameter:600mm
Worktable minimum revolving division value: 0.1";
Worktable revolving indicated value accuracy:1";
Worktable revolving locked indicated value variation: less than 1";
Worktable minimum tilting division value: 1";
Worktable tilting indicated value accuracy:5";
Worktable tilting locked indicated value variation: less than 2";
Worktable tilting angle: 90°;
Worktable main shaft tapered bore: No.4 Morse taper;
Dimensions: 1300×800×600mm (L×W×H);
Net weight: 930kg.
3. Construction and Characteristics:
The main shaft has two systems, revolving and tilting. The precision raster dial is fitted in the main shaft. The shaft system adopts precision ball bearings as the axial as well as the radial positioning support, resulting in raised rotating accuracy and radial rigidity. The main shaft, shaft sleeve and bearing shims of the apparatus are made of bearing steel and have gone through harden quenching and superfinishing.
As is a precision angle-measuring apparatus, when it is used to measure or macine parts, it is often needed to lock the finely-adjusted positions. To serve the locking purpose, sufficient force moment is necessary and the resulting radial force as well as the offsetting force should be kept to the minimum. For this aim, both the revolving and tilting shafts of this equipment adopt the electromagnet locking mechanism. This device features great locking moment, easy operation and high positioning accuracy.
Both manual and automatic drivings are available on the main shaft. The driving mechanism consists of reduction gearbox and the silicon-controlled D.C. motor, with the rotating speed of the worktable steplessly adjusted. Once the workpiece is placed on the worktable, while centering the workpiece with the main shaft, the driving section may be detached from the worktable facilitating fast rotation of the table face.
This equipment adopts raster signaling device, digital displaying angular values of revolving and tilting in degrees, minutes and seconds. The revolving shaft achieves, through elastic elements, the 600-fine-division graduation to every graduation line of the main raster, ensuring the minimum division value of 0.1" and the indicating value accuracy of 1". The tilting division adopts 60-fold-frequency electronic circuits with minimum division value of 1" and maximum tilting of 90°. Silicon photoelectric generators are used for photo-electric conversion.
This apparatus also enjoys a higher degree of automation and printing/recording functioning.

